Showing posts with label sew much to do. Show all posts

Monday

Sew Much To Do: Week 17 Skateboard Sling

I'm super excited to show off yet another Christmas gift!!! This one was for LJ. The tutorial is by Emily at The Boy Trifecta and even though you can't tell by the pics, said boy was very happy with said gift!!!!


Till next week happy sewing!!!!

Sew Much To Do: Week 16 Composition Cover

It has been so long since I blogged about my sewing that I forgot  about Sew Much To Do. Not only was this week's project a Christmas gift but it was also one of my I want to do that projects!!!! And let me tell you, CJ is enjoying it greatly!!!!


You can get directions to this over at Moda Bake Shop. I didn't do mine just like the tutorial as I didn't have time to do mine front cover all fancy like hers', so I just cut two 11 x 7.5 (which was the original measurement for the back.) Next time I make the crayon holder I will make it a bit taller and when I make one of these for JJ I will cut out two 11 x 25, one for the entire front and one for the lining. I also plan on making the pockets longer for color pencils and putting them on the inside flaps instead of the front. As you can tell in the first picture, CJs crayons are breaking but thankfully that has not stopped her creativity!!!!


Did you sew anything special for Christmas? If so please link up and brag a little!!!!!! 

Sew Much To Do: Week 15 A Lampshade

This was a lot of fun. I wasn't able to make what I had originally planned because my fabric wasn't wide enough. After sitting in my thinking chair, this is what I came up with:

The final touch to CJ's room, well at least for now!

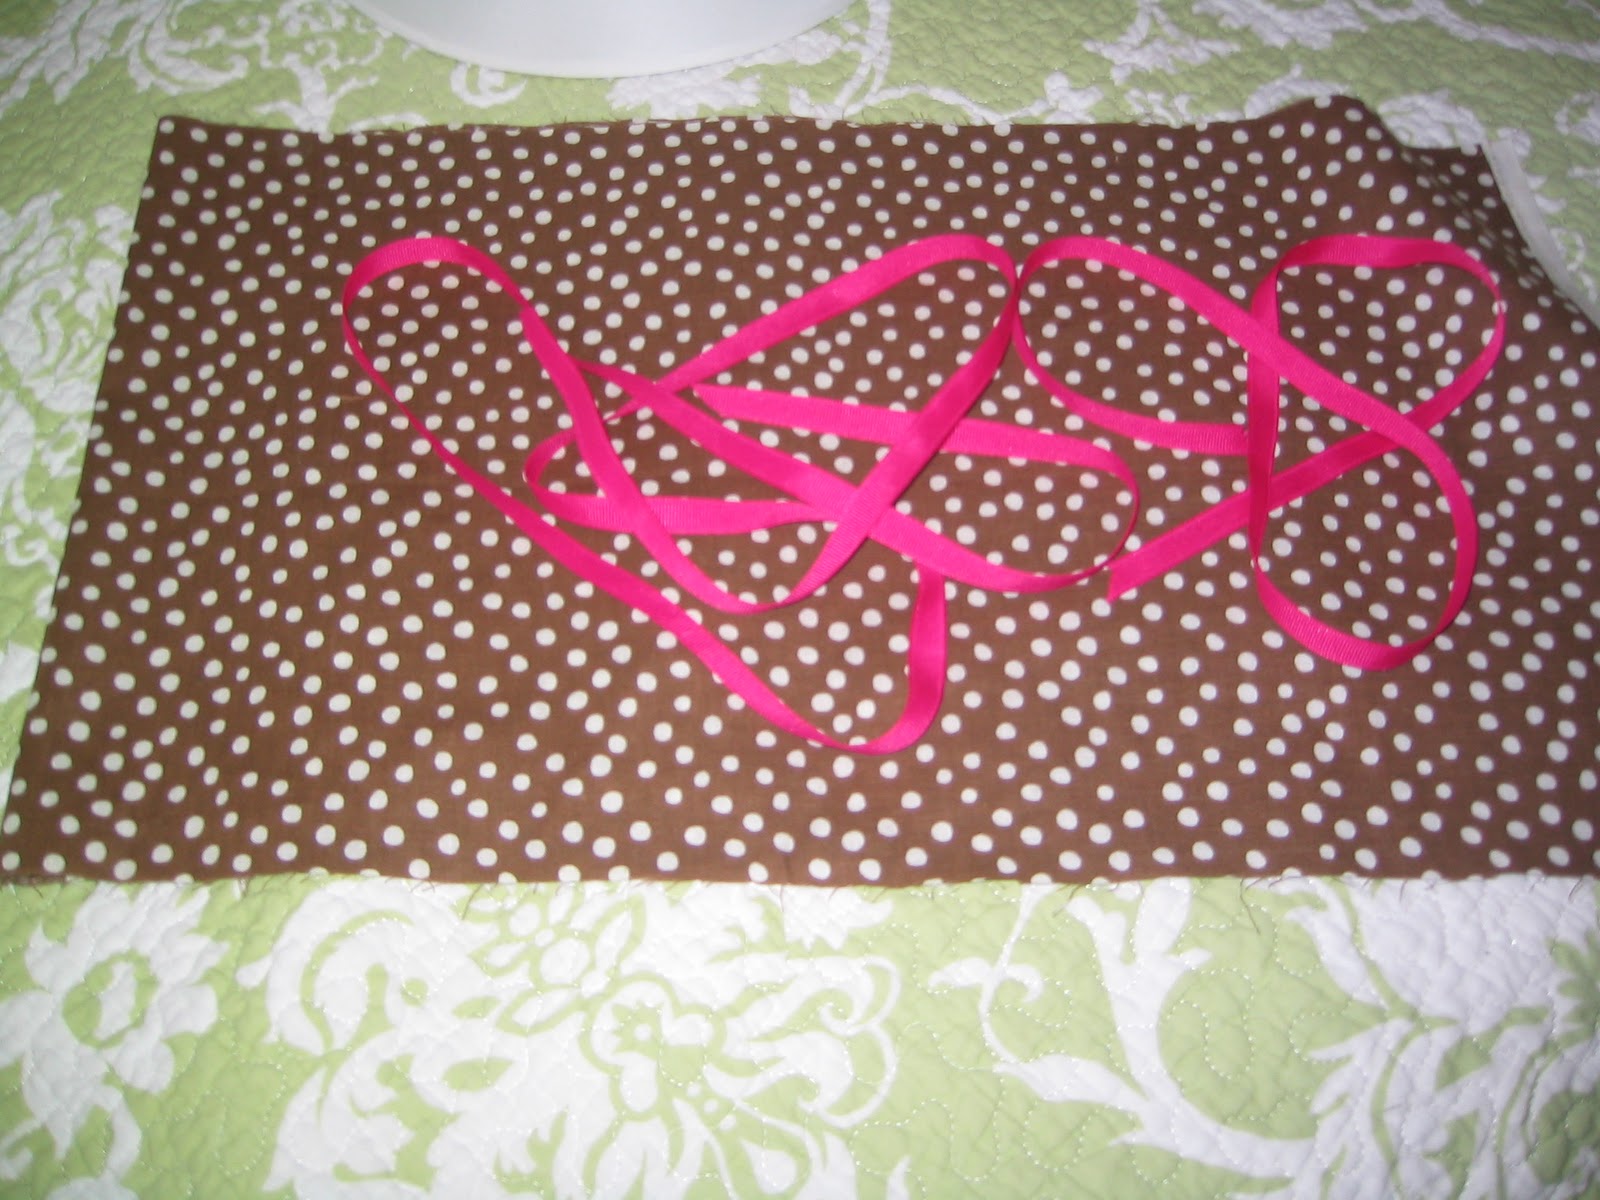
The fabric and ribbon I'm trying to decide what to do with. 

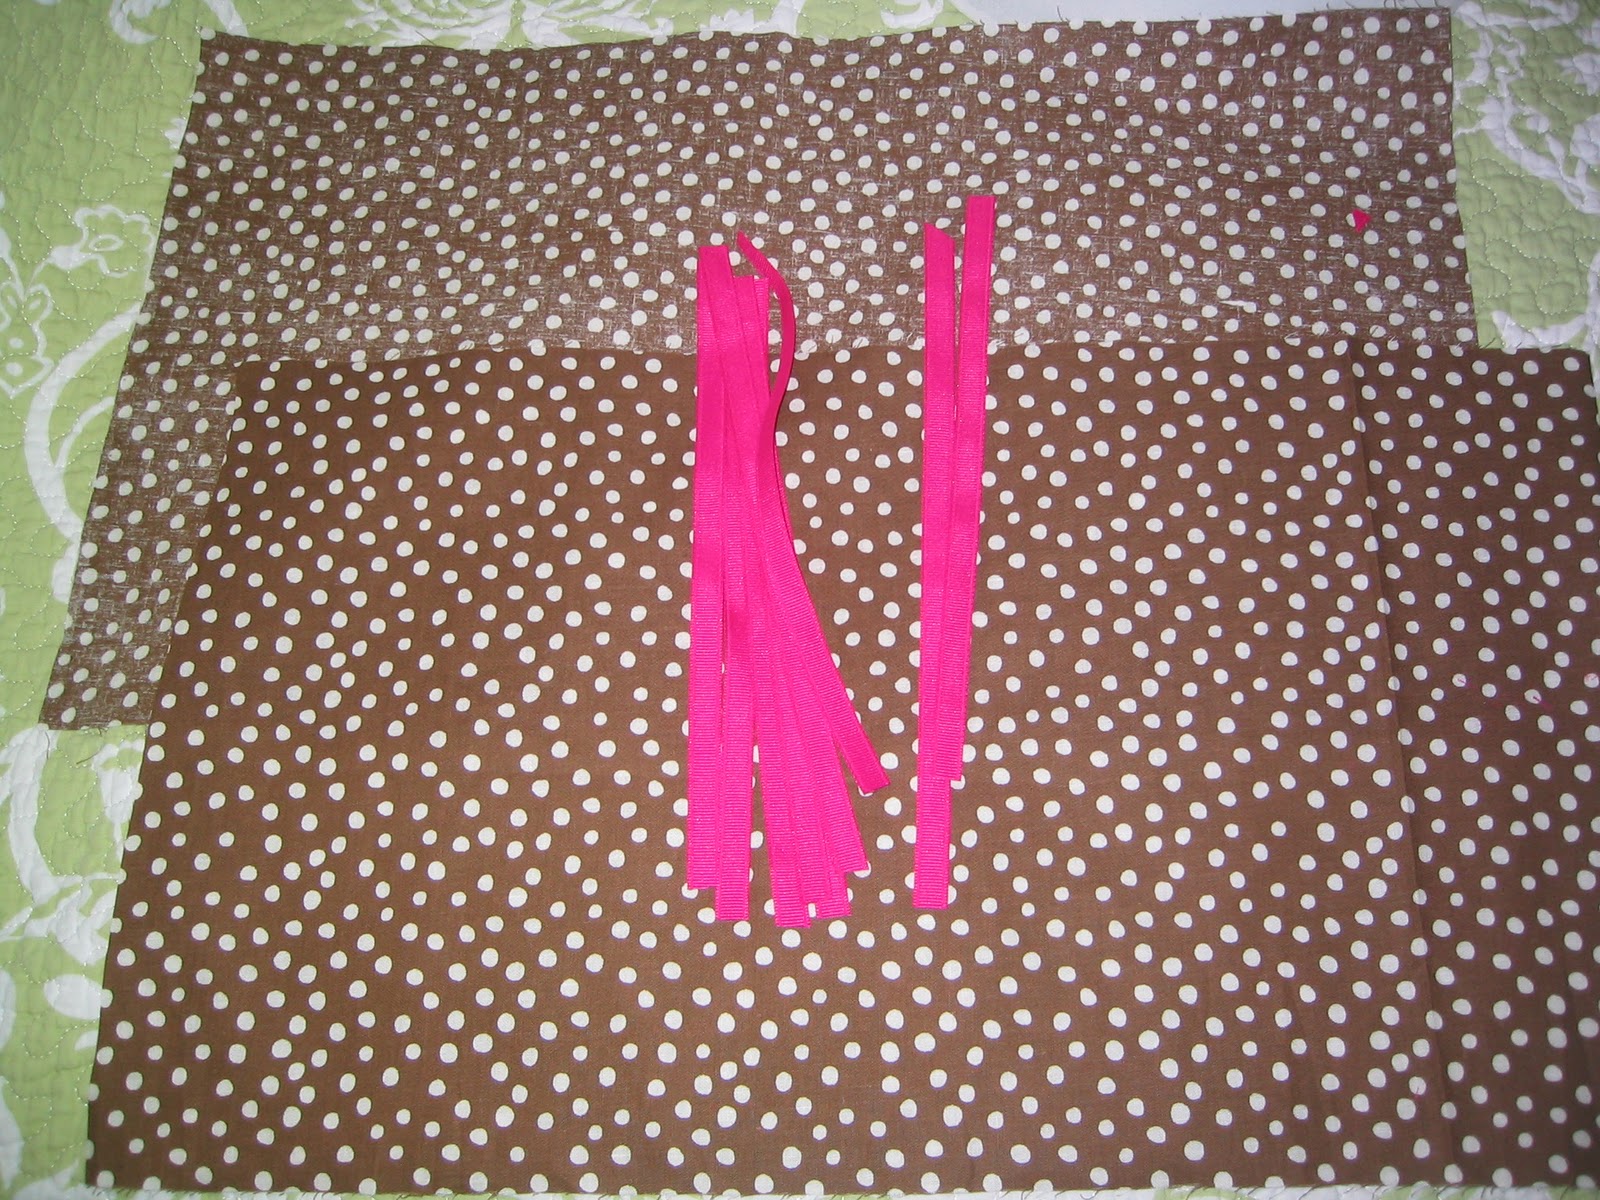
I cut the ribbon the length of the lampshade and only used one piece of the fabric for the next part.

I cut 9 pieces but only ended up using 6.

With my pinking shears, I cut out my strips. 

Next I ran a gathering stitch down the center of each strip.

Next, I gathered the strip just a little shorter than the ribbon so I  could fold the ribbon over for a neater appearance.

Checking my work. I left extra fabric on each end so that I could fold it  under.

Using a zig zag stitch, I attached the ribbon to the middle of the strips. Very cute huh!

Next you just glue the strips onto the lampshade. I started with 3 strips and  spaced them out and let the glue dry. 

The next morning I filled in the gaps with 3 more strips. 

I just used some Aleene's Ok to Wash fabric glue because it is what I had on hand. 


And ta da, there it is. The wind blew right as I was taking this picture. 
 I told my husband I think it is missing something but will just wait a bit till I put my finger on it exactly. So there you have it, the last addition (for the moment) to CJs very pink room. And with that I think Sew Much To Do is going to take a break. I have lots of Advent crafts to do with the kids and as most of you know December gets kinda crazy so I'm going to let the sewing machine chill out for a bit and enjoy some memory making moments with the kids. See you next year!!!

Sew Much To Do: Week 14 Invisible zipper

Sew Much To Do is all about me inching closer to my dream of sewing professionally. Which often means doing things I've never done and seeing if I can make it work. And that is what happened this week as I learned there is a big difference between a regular zipper (that I did not pick up) and an invisible zipper ( that I did pick up) for CJ's mini pillow out of a pillow case. So here is how it all went down:

1. I took my hot pink pillow case with right side out and pulled the inner seam up to the opening and sandwiched it between the top and bottom of the opening.

Seam from inside, which is the opposite side of the pillow case.


2. I secured the opening and seam together and straight stitch through all 3 layers.
Pillow case pinned and is now half of its original length.

3. My simple straight stitch makes a new seam at what will be the top of the pillow case.


4. Here is where my lack of knowledge almost proved destructive!!! What I did was cut about a half inch slit on both sides of the pillow case opening to open up the fabric so I could "just" sew in the zipper. What I should have done was only cut a slit in the side were the zipper would start but not the end side. (You will see why in a minute.)

5. Oh wait lets stop so I can show you mistake number two of my learn as you go method. On the back of the zipper it said to iron out the zipper so that you could see the two seams. Well I couldn't find those at first and just ironed it out like it is on the right side. It wasn't until I was trying to feed the zipper into my invisible zipper foot, that I saw the two seams and had to unpin the zipper and iron it out again.
Can you see how the left side of the zipper lays flat but the right side  is raised up?
It needs to be flat like the left side.
6. Now you can attach the invisible zipper to your pillow case. What you are looking at right now is the pillow case wrong sides out BUT the right side of the seam turned up so you can attach the right side of the zipper to the right side of the fabric.


7. If your zipper is too long, just pull it up and align it with where you want it to stop.


8. I thought this was going to be the hardest part and it was really simple. I just fed the zipper into my foot and away I went.

9. Right before you foot touches the zipper you back-stitch and you are almost done with side one.

10. Now you are going to pull the two tails of thread over to the wrong side of the fabric and tie them off.


11. Sew the second side on just like you did the first side.


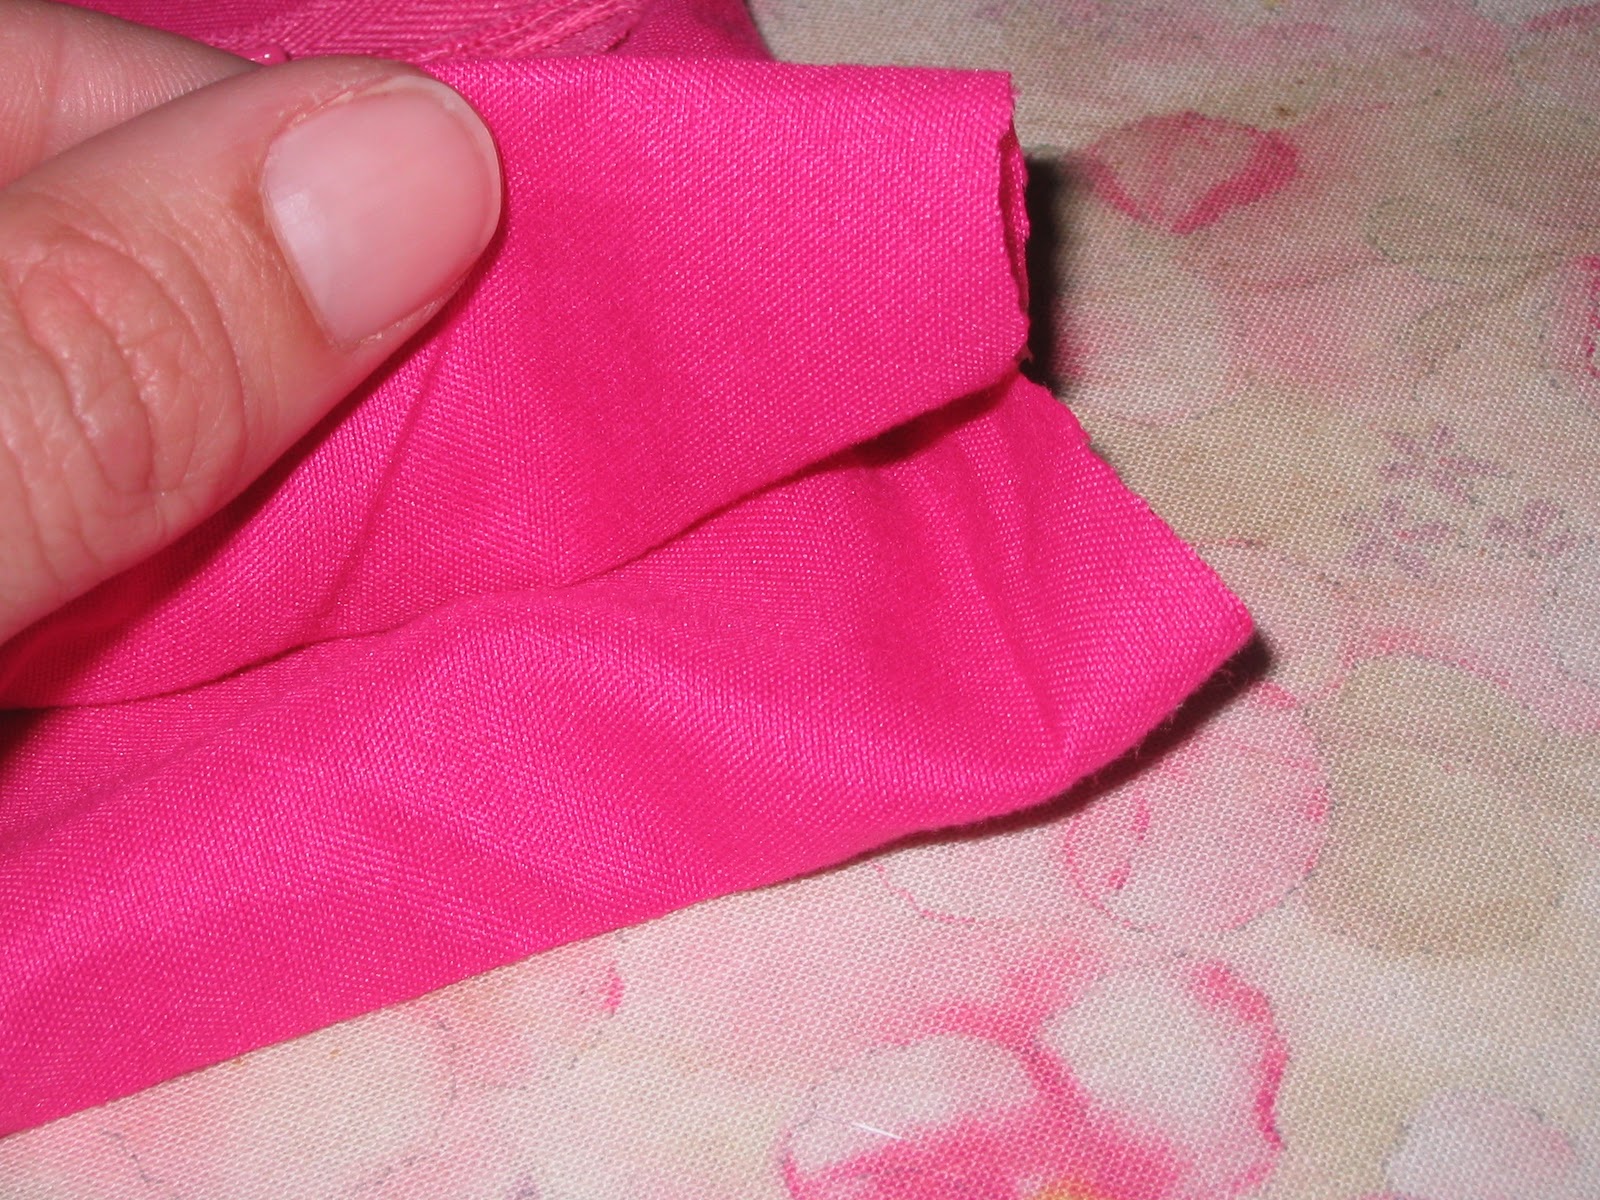
12. Mistake three of my learn as you go method: leave a bit more of a tail on the end of the zipper.

13. The start side of my zipper ended up just like I envisioned and came together perfectly.


14. It was the stop side that was a nightmare!!! I was sewing and re-sewing and flipping to sew it from a different angle to get that side to finally close up.


15. Ladies and Gentlemen: my first ever invisible zipper!!!

16.  I used sew-able heat and bond on coordinating fabric, cut out a "C" and ironed it onto the pillow. I outlined the C with hot pink thread but you can't tell in this picture.


I know that I told you last week that this was the last little thing I was going to do for her room BUT there is one more Monday in November and I still have alot of that coordinating fabric left since the "C" didm't use up much of the 1/4 yard I bought. Hopefully you will stop on by next week and see how it all comes together!!!

And if I don't see you again before Thursday, Happy Thanksgiving!!! 

Sew Much to Do: Week 13 More Curtains

Last year for CJ's birthday I started working on some special touches for her room but never got around to finishing them. So for the rest of November, I'm going to finish up her room!!!One of the first things I made for her was a valance. After I finished her valance, I knew I needed to make her some curtains because the afternoon sun baked her room. A couple of months ago I bought a hot pink sheet set so I could use the fitted sheet to cover her box spring but wasn't sure what to do with the flat sheet and pillow case. This past week it finally came to me!!!!!

The flat sheet was the perfect length to make curtains for CJ's room. I folded the flat sheet width wise together and cut it in half:


Next I folded the seam and adorned it with some rick rack.
1st fold

2nd fold

flip and add rick rack
Lastly I attached the sheets to the back of the valances and created a cute set of curtains.


Next week I hope to finish her room makeover by using the pink pillow case for the perfect accent. I hope you will come back and see!!!!

Sew Much to Do: Week 12

The fabric for this week's project was actually suppose to be a dress for another project. But seeing that fall is upon us and CJ really needed a bag for her Cubbie handbook, I decided to re-purpose that fabric for a cute bag that has been due her for over a year now!!!!!!! This bag is so easy to modify that you could use it for any book, especially one that you are giving away as a gift this Christmas!!!!!! So lets get started:

1. Take two pieces of fabric and put them right sides together.

Here is the dress ALMOST finished, I'm going to cut between the green stripes.

2. Cut out your fabric and ensure you have enough for the seam allowance. I wanted more on the top because I am going to fold down the top for an easy finish.


3. We are almost done!!! Fold down the top of both fabric pieces and then pin the sides and bottom together, fabric should still be right sides together. Now sew these three sides together leaving the top open and pin your handles to the top.
The pink ribbon is laid out to give you an idea of how long the handles can be.

Here the sides and bottom seams have been sewn.
 4. When you sew the handles on you should sew on the inside of the bag so that you can open up the side seams for a nicer finish.

5. Now turn your bag right side out and if you want to stop at this point, I would go ahead and sew another line above the line you did to attach the handles and you are done.

6. I wanted to embellish the bag with a ruffle so I used some more fabric from the original dress to make my ruffle.
I only used one of these strips for my ruffle.
 7. I tried a couple of methods but this worked best. I folded the fabric in what you could call thirds. So if you folded your fabric there would be one solid side and the top and bottom of the fabric would be on the opposite side. You would do this wrong sides together so the right side of the fabric is on the outside. (I hope this makes sense.)

8. Next I used this awesome gathering technique to make a ruffle........

9. Attached the ruffle to my bag by first tucking under my edge....

10.Then pinning the ruffle around the right side of my bag  folding under the end just like I did at the beginning. I used a small straight stitch and stitched right down the center of the ruffle.

Testing the bag to make sure the Cubbie Handbook will fit. 
It does!

Perfect!!!
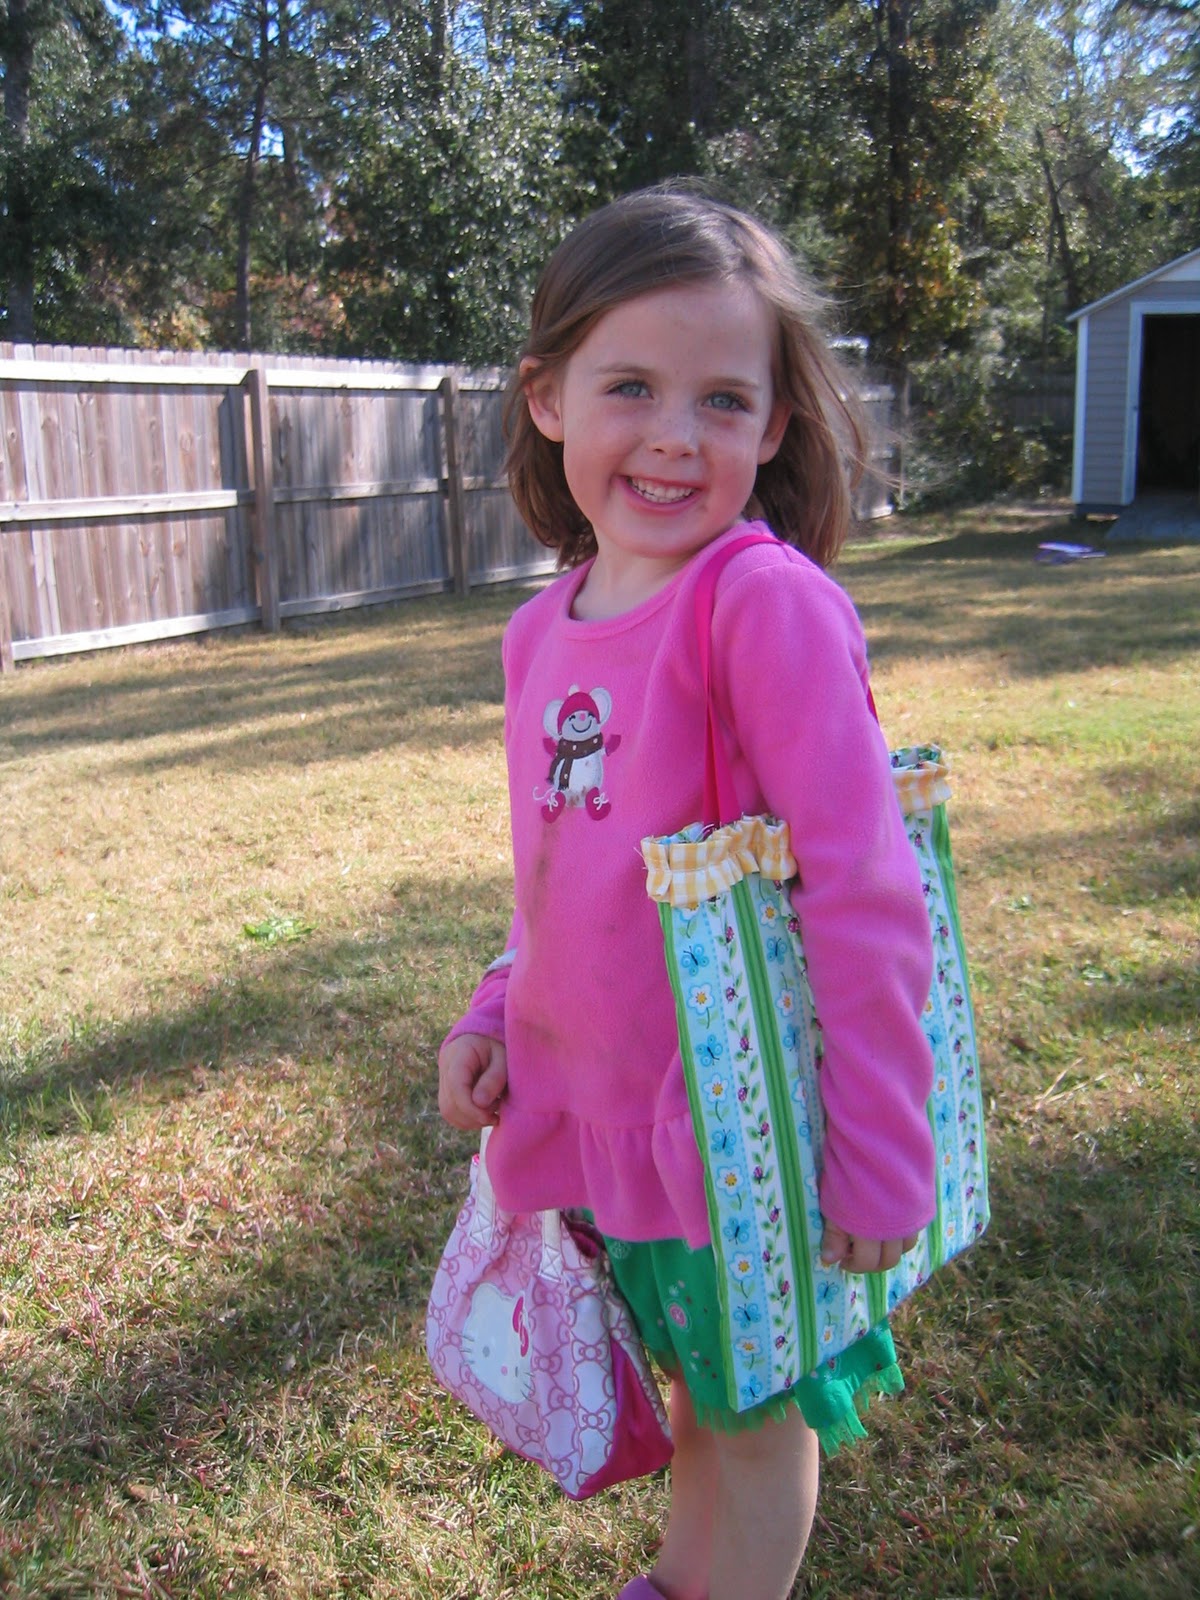
Look at how happy she is!!!


And there you have it!!!! Another week of Sew Much To Do completed. Check back next week to see what I have in my sewing basket!!!