

1. I took my hot pink pillow case with right side out and pulled the inner seam up to the opening and sandwiched it between the top and bottom of the opening.
 |
| Seam from inside, which is the opposite side of the pillow case. |
2. I secured the opening and seam together and straight stitch through all 3 layers.
 |
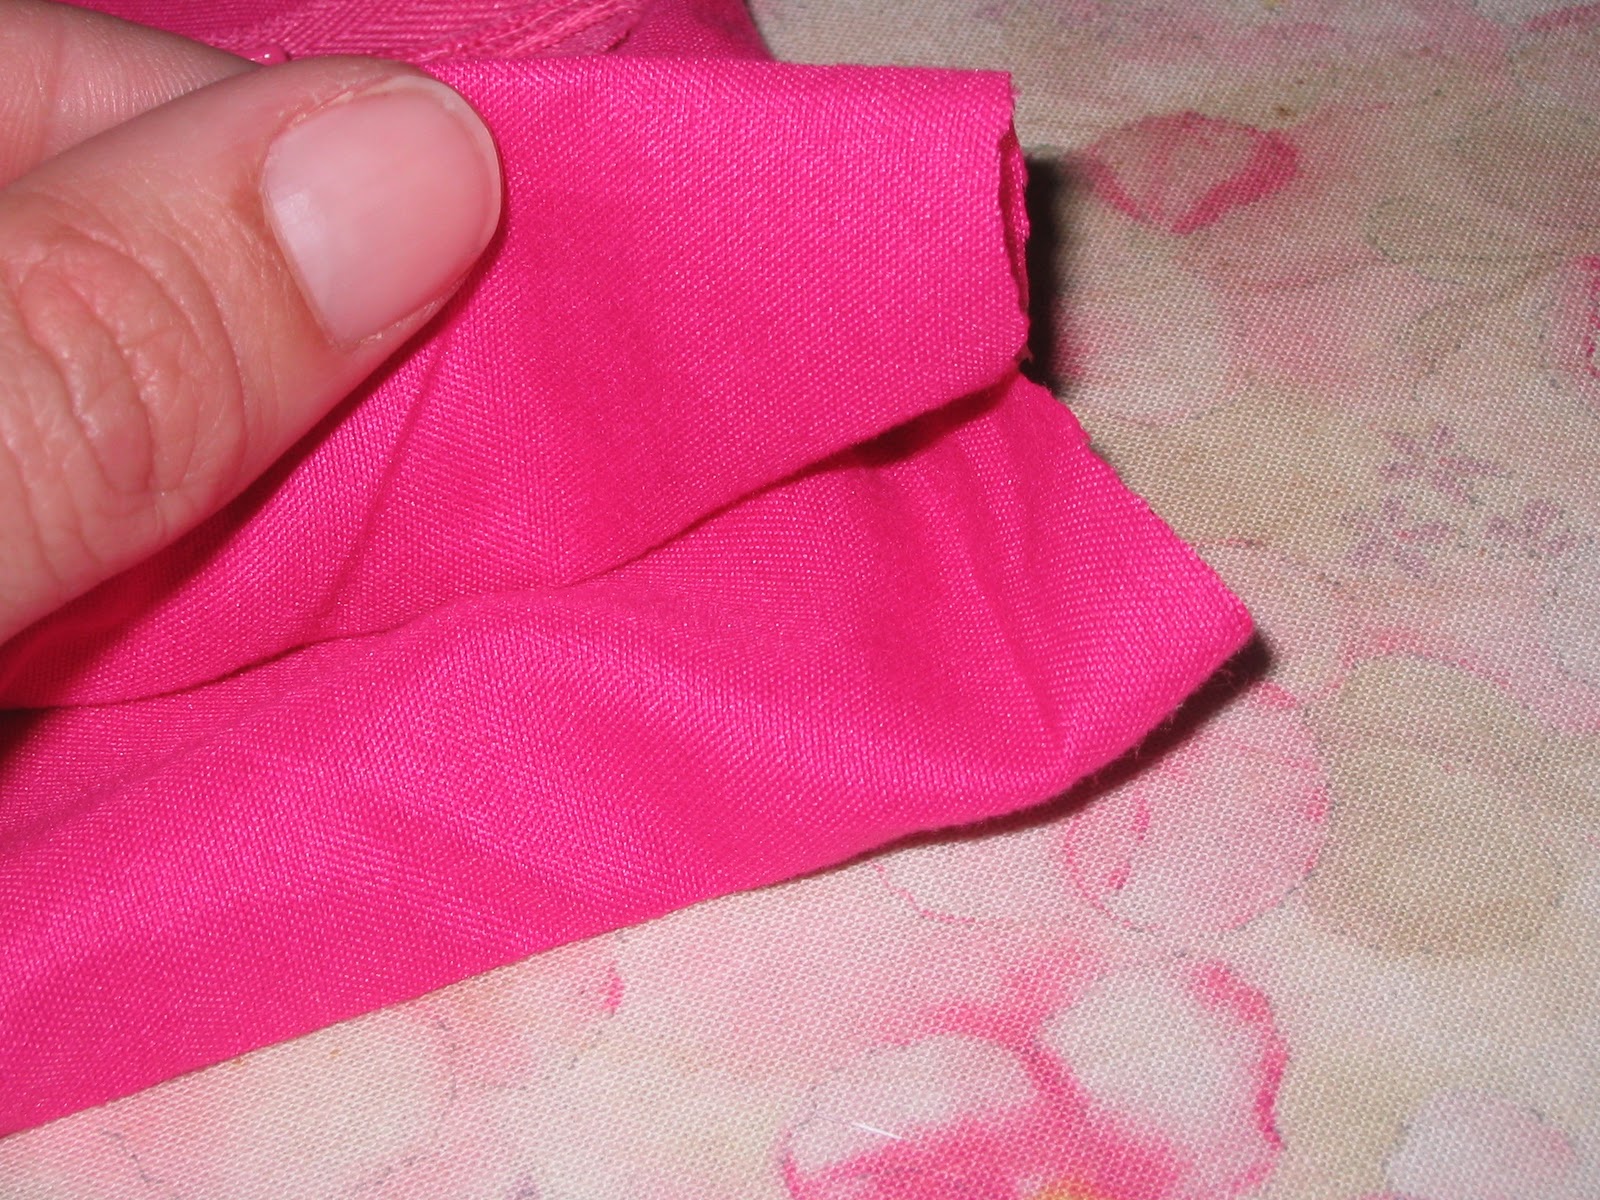
| Pillow case pinned and is now half of its original length. |
3. My simple straight stitch makes a new seam at what will be the top of the pillow case.

4. Here is where my lack of knowledge almost proved destructive!!! What I did was cut about a half inch slit on both sides of the pillow case opening to open up the fabric so I could "just" sew in the zipper. What I should have done was only cut a slit in the side were the zipper would start but not the end side. (You will see why in a minute.)
5. Oh wait lets stop so I can show you mistake number two of my learn as you go method. On the back of the zipper it said to iron out the zipper so that you could see the two seams. Well I couldn't find those at first and just ironed it out like it is on the right side. It wasn't until I was trying to feed the zipper into my invisible zipper foot, that I saw the two seams and had to unpin the zipper and iron it out again.
 |
| Can you see how the left side of the zipper lays flat but the right side is raised up? It needs to be flat like the left side. |

7. If your zipper is too long, just pull it up and align it with where you want it to stop.

8. I thought this was going to be the hardest part and it was really simple. I just fed the zipper into my foot and away I went.

9. Right before you foot touches the zipper you back-stitch and you are almost done with side one.

10. Now you are going to pull the two tails of thread over to the wrong side of the fabric and tie them off.

11. Sew the second side on just like you did the first side.

12. Mistake three of my learn as you go method: leave a bit more of a tail on the end of the zipper.

13. The start side of my zipper ended up just like I envisioned and came together perfectly.

14. It was the stop side that was a nightmare!!! I was sewing and re-sewing and flipping to sew it from a different angle to get that side to finally close up.

15. Ladies and Gentlemen: my first ever invisible zipper!!!

16. I used sew-able heat and bond on coordinating fabric, cut out a "C" and ironed it onto the pillow. I outlined the C with hot pink thread but you can't tell in this picture.

I know that I told you last week that this was the last little thing I was going to do for her room BUT there is one more Monday in November and I still have alot of that coordinating fabric left since the "C" didm't use up much of the 1/4 yard I bought. Hopefully you will stop on by next week and see how it all comes together!!!
And if I don't see you again before Thursday, Happy Thanksgiving!!!


No comments:
Post a Comment