

1. Take two pieces of fabric and put them right sides together.
 |
| Here is the dress ALMOST finished, I'm going to cut between the green stripes. |
2. Cut out your fabric and ensure you have enough for the seam allowance. I wanted more on the top because I am going to fold down the top for an easy finish.

3. We are almost done!!! Fold down the top of both fabric pieces and then pin the sides and bottom together, fabric should still be right sides together. Now sew these three sides together leaving the top open and pin your handles to the top.
 |
| The pink ribbon is laid out to give you an idea of how long the handles can be. |
 |
| Here the sides and bottom seams have been sewn. |

5. Now turn your bag right side out and if you want to stop at this point, I would go ahead and sew another line above the line you did to attach the handles and you are done.

6. I wanted to embellish the bag with a ruffle so I used some more fabric from the original dress to make my ruffle.
 |
| I only used one of these strips for my ruffle. |

8. Next I used this awesome gathering technique to make a ruffle........

9. Attached the ruffle to my bag by first tucking under my edge....

10.Then pinning the ruffle around the right side of my bag folding under the end just like I did at the beginning. I used a small straight stitch and stitched right down the center of the ruffle.

Testing the bag to make sure the Cubbie Handbook will fit.
 |
| It does! |
Perfect!!!
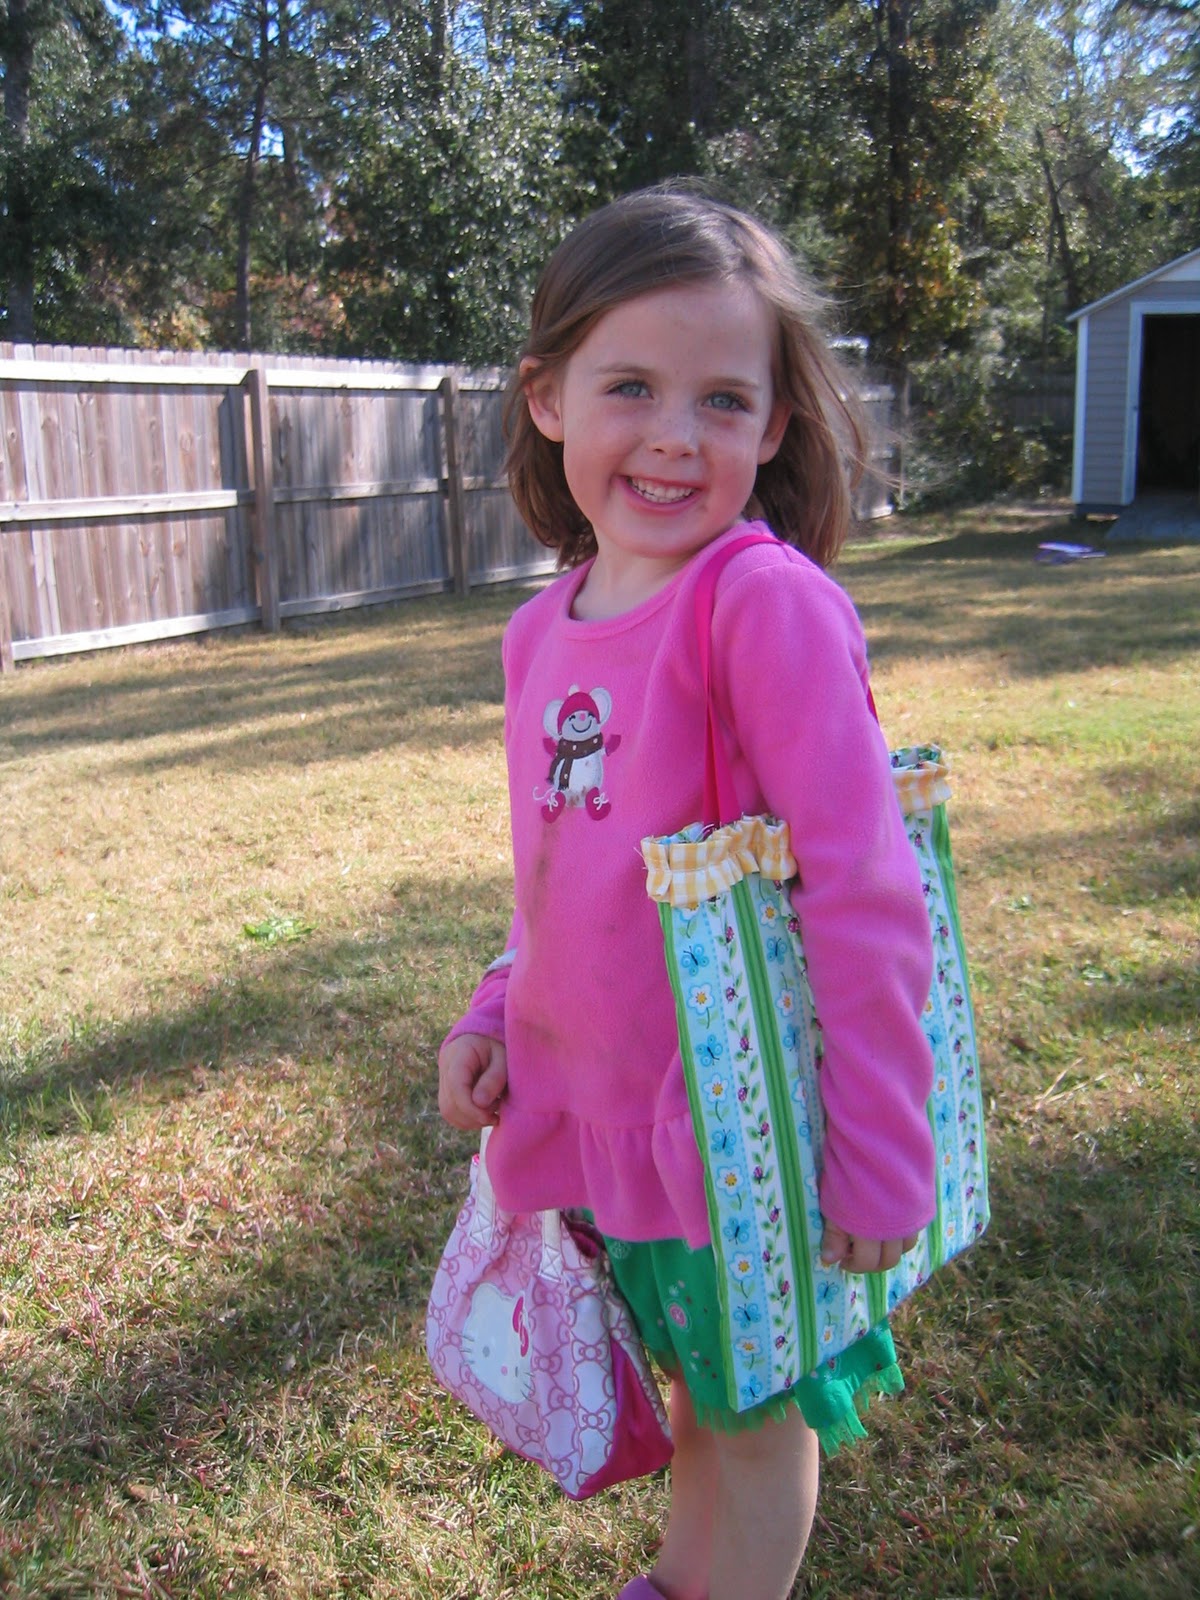 |
| Look at how happy she is!!! |
And there you have it!!!! Another week of Sew Much To Do completed. Check back next week to see what I have in my sewing basket!!!


1 comment:
That's a very cute bag! Your daughter looks like she loves it. :) Thanks for sharing how you made it and for linking up!
Post a Comment