I love this project, mainly because I came up with the idea myself. I must warn you:
it's not fancy but very practical!. And I actually was able to use the same idea for two different rooms; bonus!!! This project came about when I was working on
CJ's birthday present. I wanted to give her a little space in her room to "play" princess AND help keep all her dresses and tutus organized. I wanted something that could grow with her and also be used for a different purpose as she gets older. I think my molding hook hanger, did the trick!!!!
 |
| The top piece is for purses and the bottom piece is for dresses and tutus! |
 |
| A closer look at how I added rhinestones to bling it up a little. |
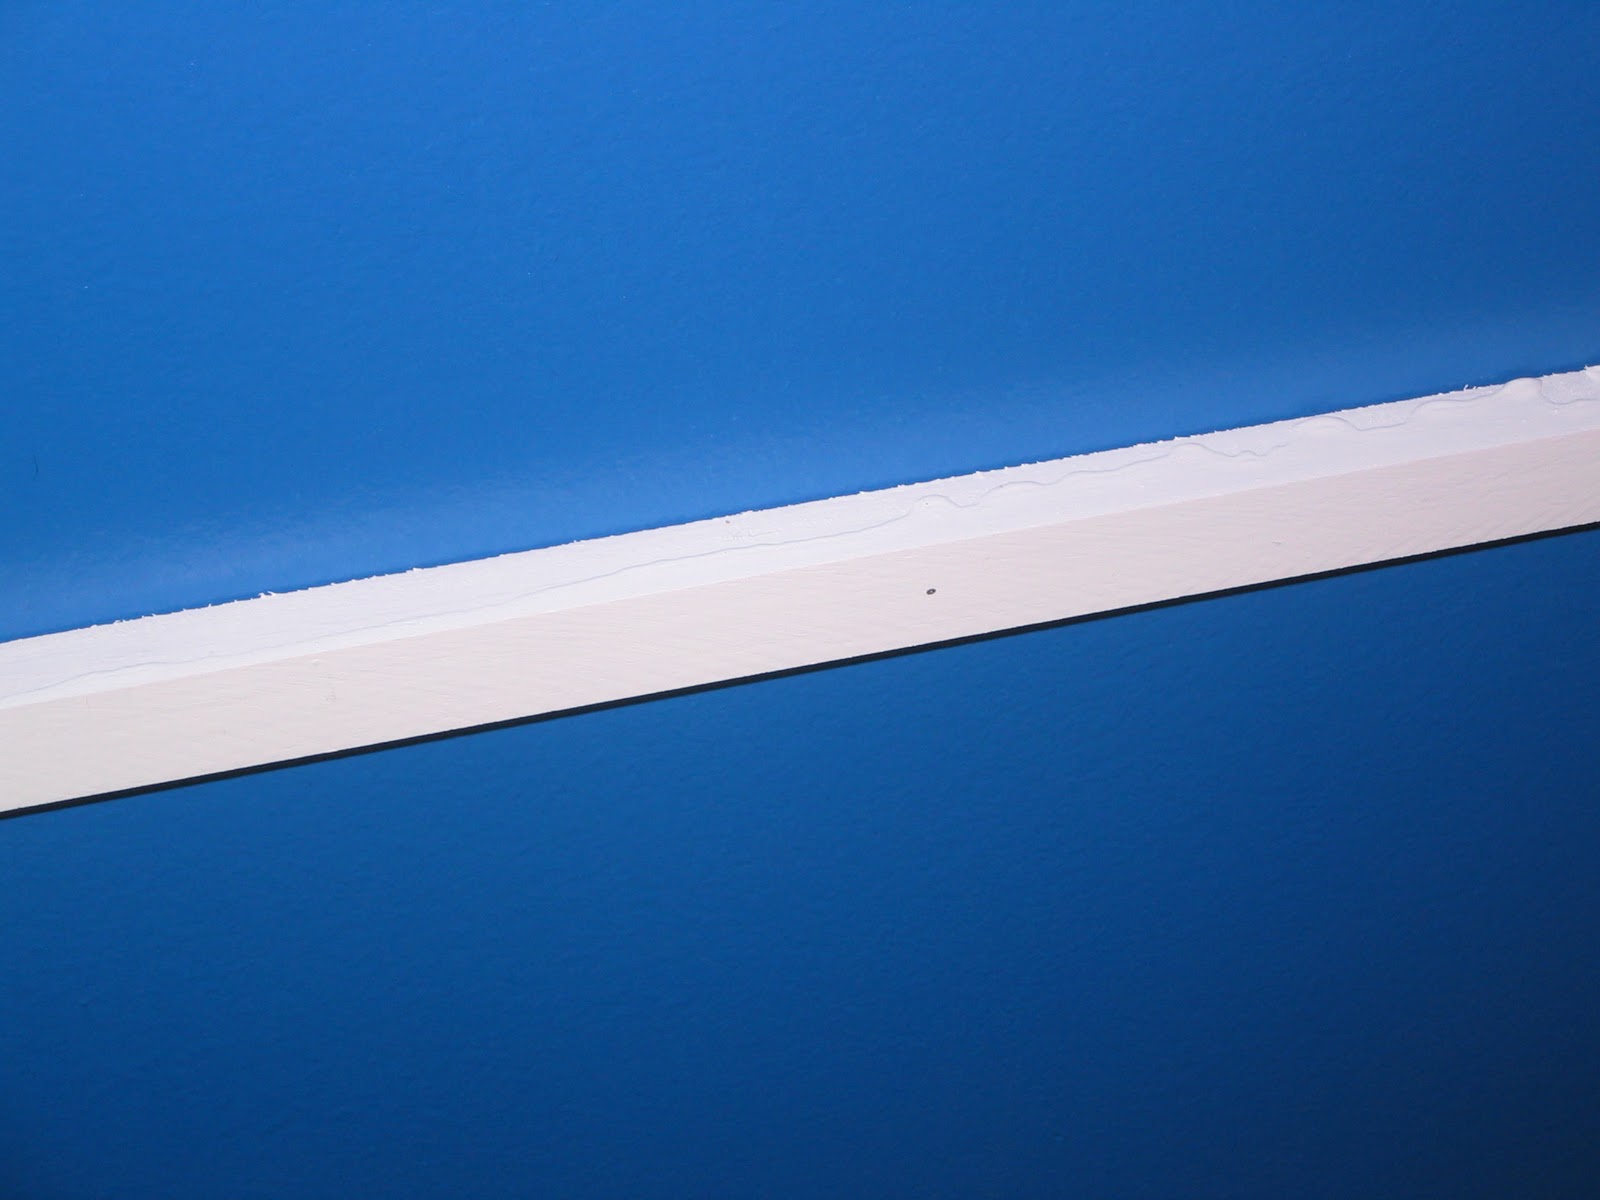
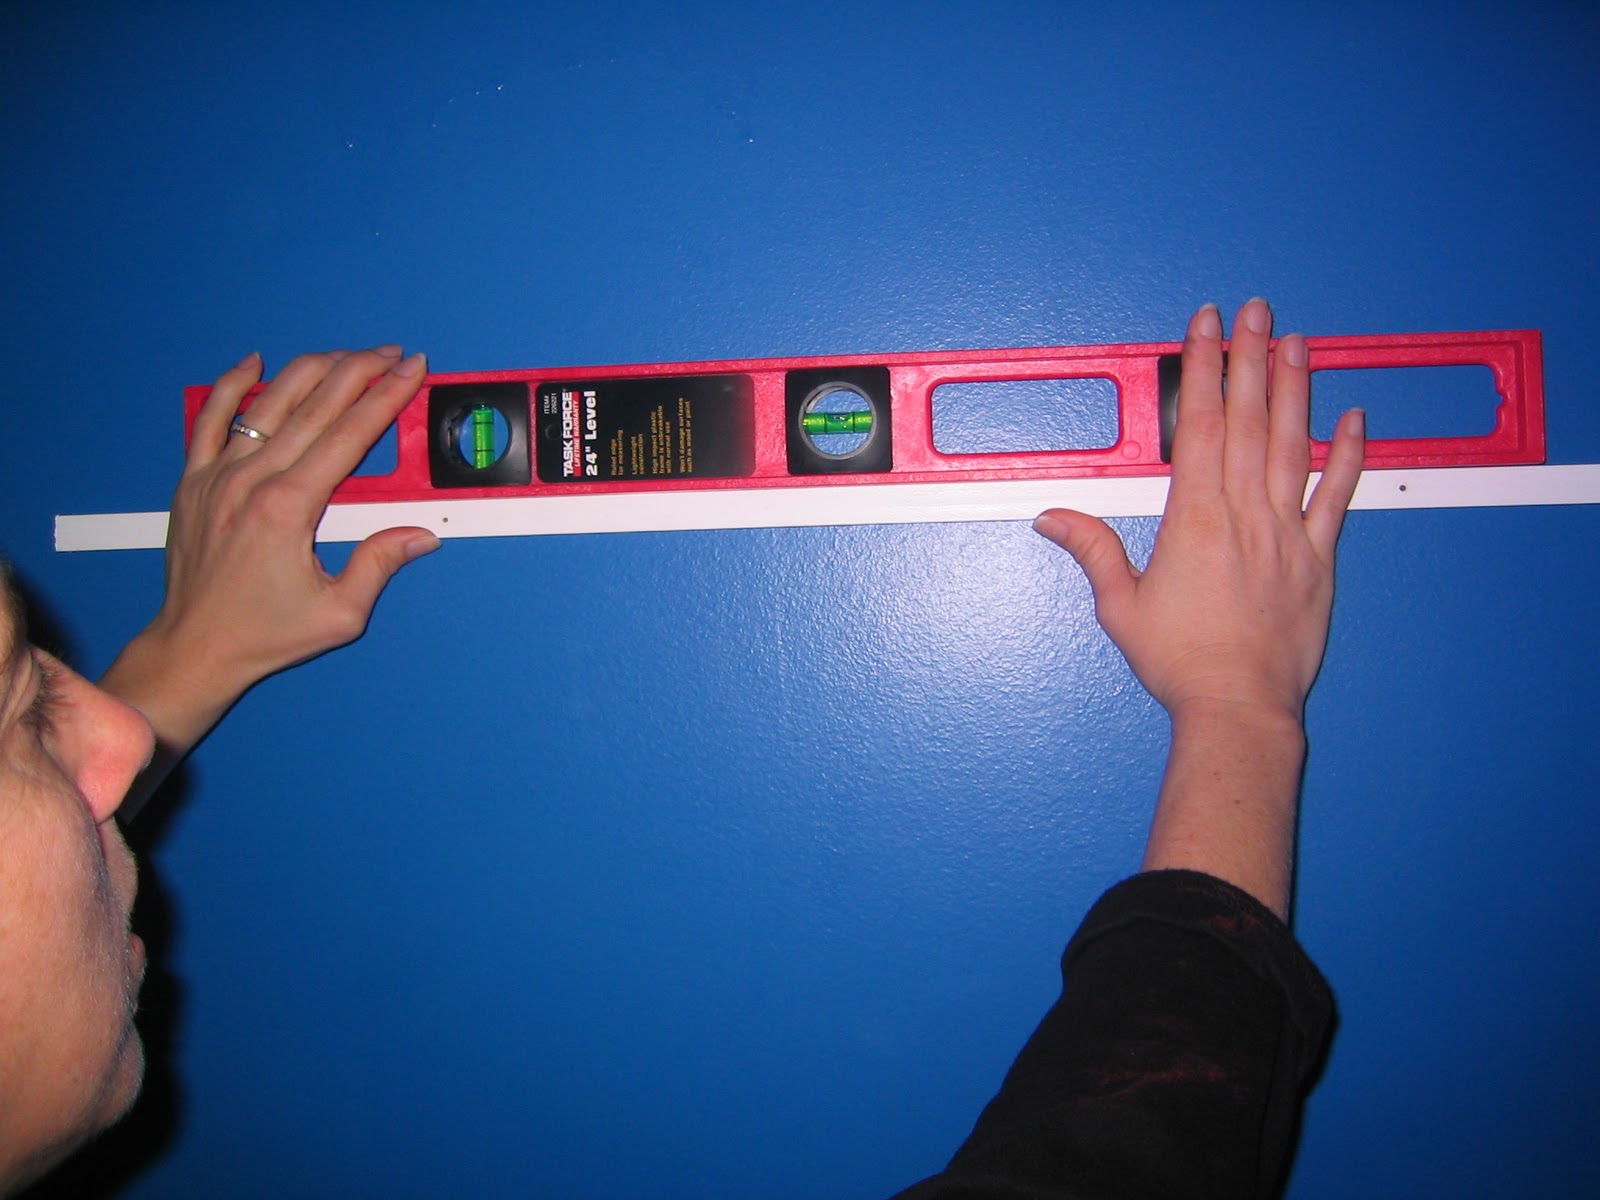
This was a very simple project!!! I bought one long piece of molding and had Lowe's cut it into 3 even parts. (I wasn't really sure of the length I wanted but knew the one long piece would not fit into my car, lol.). With my military discount the molding piece was not more than $7.50. And then I got a box of cup hooks for no more than 3 dollars and it had 40 hooks in it. So if you do the math, each piece of wood came out to $2.50 a piece and the hooks were only 7.5 cents each!!! I already had the white paint so that was at no cost to me. That made this project meet my goal of under 10 dollars for each room!!! When I got home I painted the three pieces white. Next I found the studs in the wall and marked my piece of molding where I would mount it directly to the wall. (I felt it would make the molding hook hanger more stable and less likely to be pulled off the wall if I screwed it into the wall studs)
 |
| I love this tool! |
 |
| Marking where I want the wood screw to go. |
 |
| Me and power tools don't get along, sigh. I wont tell you how I got this drill bit off. I'm just thankful that this was the second hole I had to drill!!! |
I didn't get pictures of this next step but after I made sure that the molding was level, I put a small nail into the drilled holes and made my hole in the wall for the nail screw to go into. This also helps make sure that I am actually hitting the stud before putting a bigger hole into the wall.
 |
| Another tool I have grown fond of!! |
Next I put the hook screws into the molding where I wanted them to be placed. It took a bit longer since I couldn't use the drill bit and my finger tips are still a bit tender. However, once I got the screw in the molding I was able to use a wash cloth to tighten them down all the way.
 |
| Hooks, FINALLY, all in place! |
Almost done!!! An easy way for me to line up the molding hole with the hole in the wall is by screwing the wood nail into the molding just enough for it to poke out the back. Then I can place the tip of the screw into the hole in the wall.
I thought this would be the hardest part of the whole project and it was a breeze. I didn't have any problem screwing the wood nail into the wall. Whew, at least something went better than expected!!
Sadly these were the only hats I could find for this picture, you'll see why in a second....
Once the boys finally find their hats they will have a place for them up off the floor.
Now just to find a place for the rest of their stuff, lol

I really love how I was able to use the same project in two different rooms and get two different looks As I said before, nothing fancy but very practical and that is how we roll around here.Don't forget to check out some other GREAT molding projects!!! Seriously, I am in awe of the talent that is
linking up over there!!!!


 PDF
PDF